
Last updated November 17, 2026
 Architectural shingles
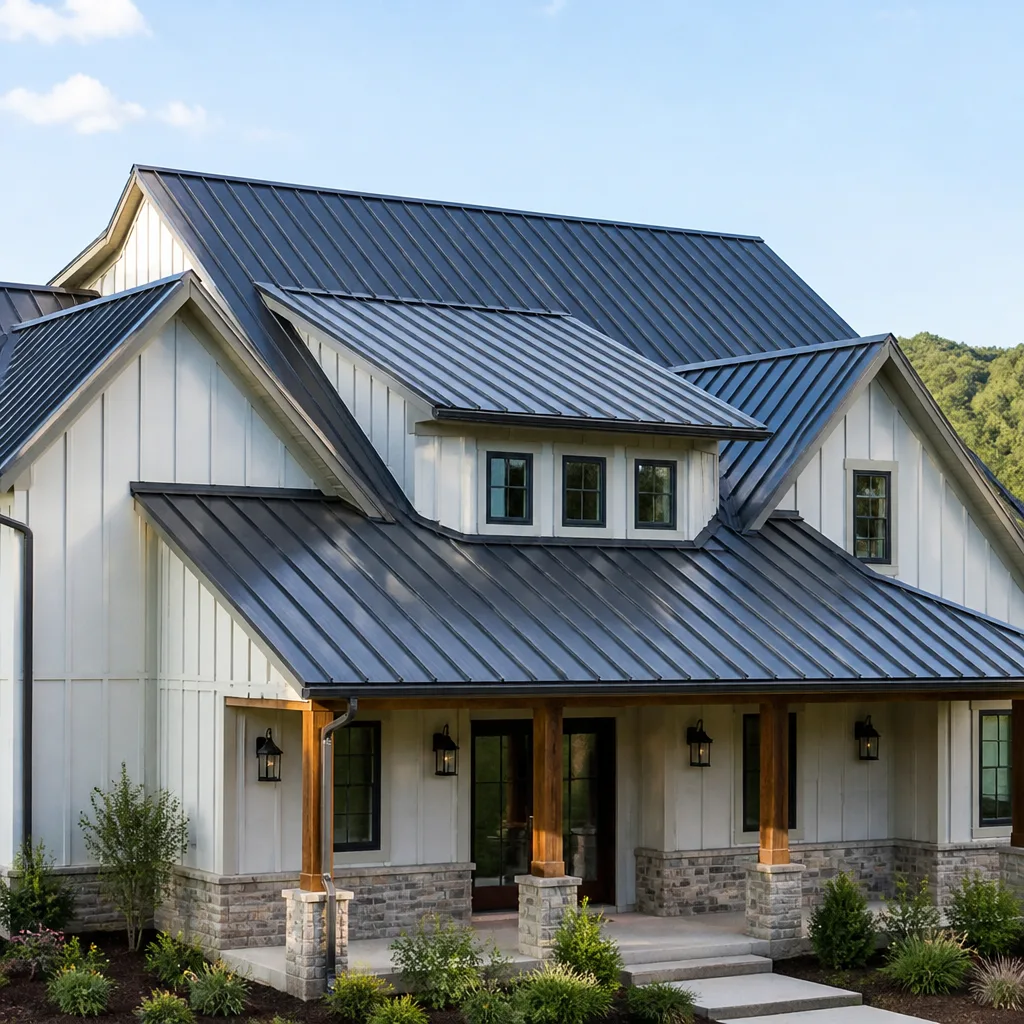 Metal roofing
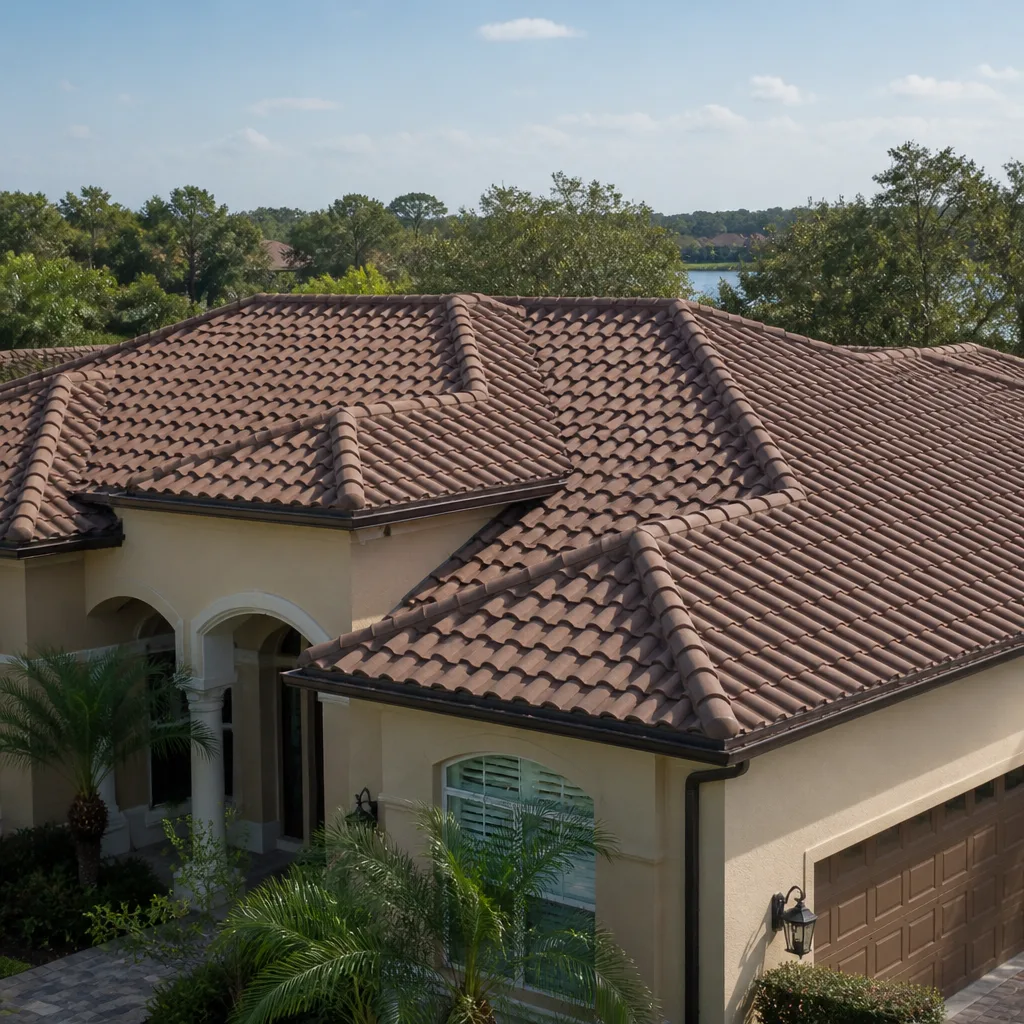 Tile roofing
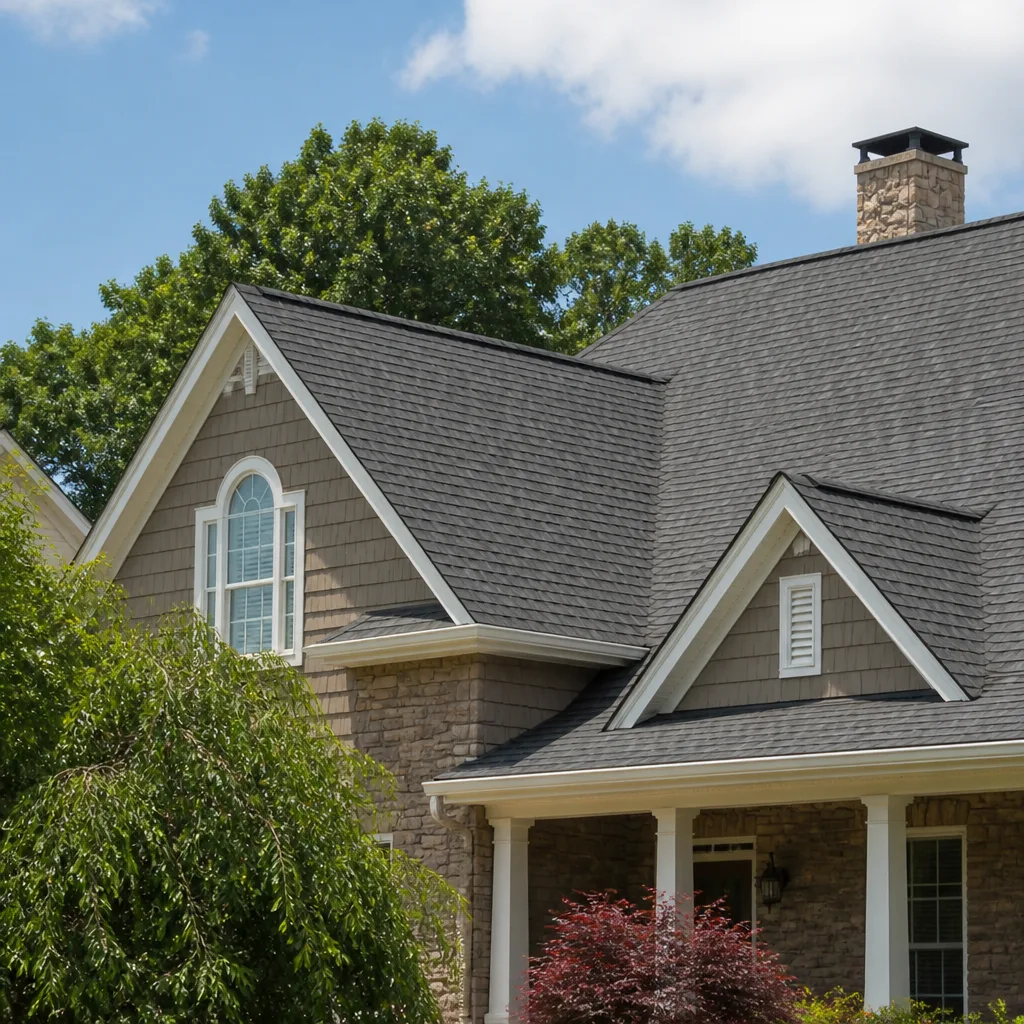 GAF
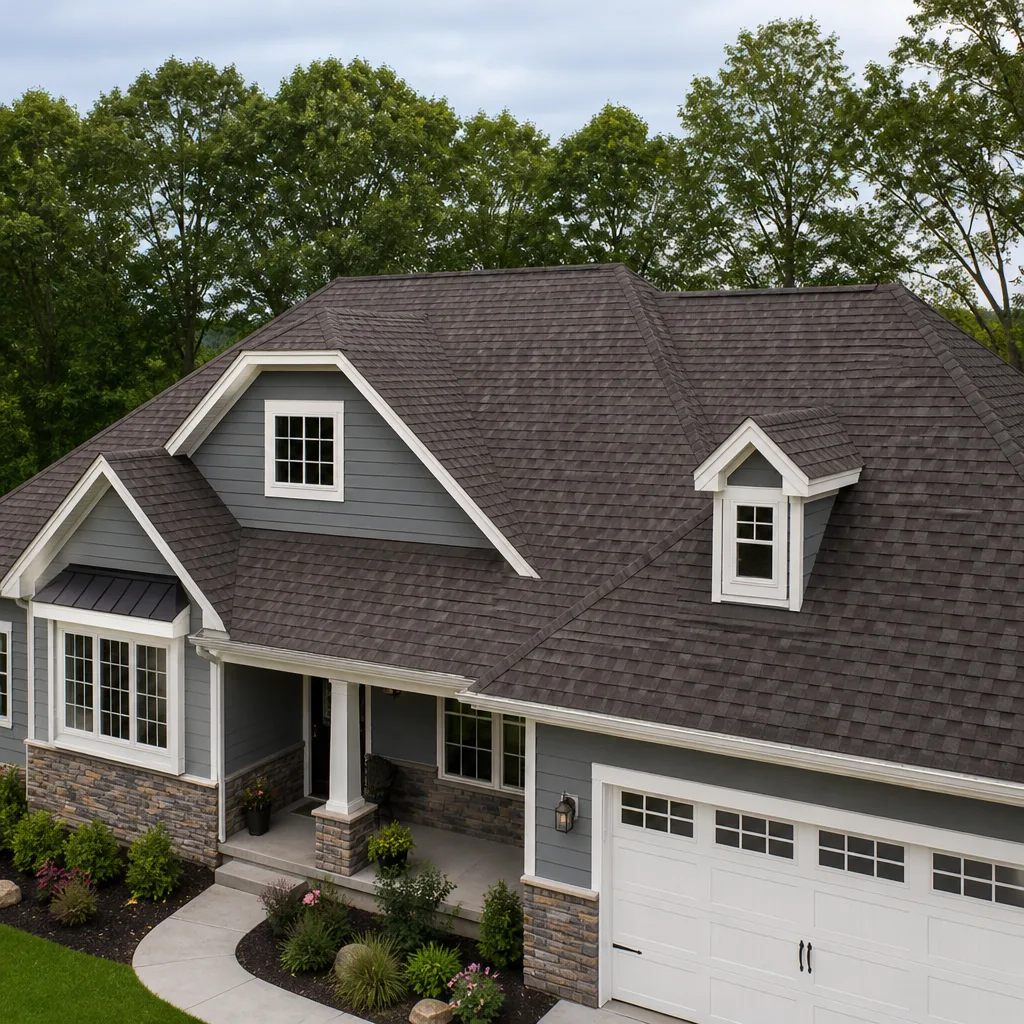 Owens Corning
 Flat & low-slope
Free roof inspection with deck photos before we talk money - GAF and Owens Corning certified installation
DIY vs Professional Roof Repair: What’s Safe to Do Yourself
The most dangerous DIY roof repair is not the most technical one. It is replacing a few field shingles over an already-compromised deck. The new shingles look fine from the ground, the leak stops for a season, and the rot underneath keeps spreading unseen through the sheathing. We’ve pulled up shingles like that in Spring Valley and found framing soft enough to push a screwdriver through. This guide draws a clear line based on failure risk, not on how confident you feel on a ladder. You’ll learn the three-tier framework, which ten common repairs fall where, and where Nevada rules and shingle warranties put the boundary.
Quick Answer
Safe solo repairs are things you do from a ladder or from inside the house: caulking, sealing small flashing edges, clearing gutters, and managing interior moisture. Repairs that need a helper or a licensed roofer are the ones on the roof deck itself – shingle replacement, deck repair, flashing rebuilds, and anything involving the roof structure. The dividing line is not skill. It is consequence tolerance: some failures are slow and visible, others are silent and catastrophic.
Styles & brands we work with
- Architectural shingles
- Metal roofing
- Tile roofing
- GAF
- Owens Corning
- Flat & low-slope
Table of Contents
- The risk-tier framework: why failure risk beats confidence
- Tier 1: repairs that are genuinely safe to do yourself
- Tier 2: repairs that are safe only with a helper and a plan
- Tier 3: repairs that require a licensed roofer
- Why walking a hot Spring Valley roof deck is a structural risk
- Where DIY voids your shingle warranty – and how to check
- What “safe to do yourself” means in Nevada: permits, HOA rules, insurance
- How to do the homeowner-appropriate parts correctly
The Risk-Tier Framework: Why Failure Risk Beats Confidence
Most DIY advice starts with a difficulty rating. That’s the wrong axis. The right question is what happens when the repair fails. A caulk joint that lets go shows up as a stain on the ceiling within a couple of rainy seasons. A poorly seated flashing repair can funnel water behind the wall assembly for a year before anyone notices. One failure announces itself. The other hides.
So we sort repairs into three tiers by consequence:
- Tier 1 – safe solo: low height, low structural involvement, and a failure you will see quickly and cheaply.
- Tier 2 – safe with a helper and a plan: requires roof access, a spotter, and some product knowledge, but the repair is still surface-level.
- Tier 3 – requires a licensed roofer: touches the deck, the structure, or a hidden assembly where a failure stays silent.
In Spring Valley we see Tier 1 work done well all the time by longtime homeowners. We also see Tier 3 work attempted as Tier 1, and that is where the expensive damage starts. If you want the full picture of what professional repair looks like in this valley, our Roof Repair in Spring Valley page walks through it.
Tier 1: Repairs That Are Genuinely Safe to Do Yourself
These are the jobs a careful homeowner can do without touching the roof surface at all, or from the top of a stable ladder. In our experience across Spring Valley, these are the repairs that pay for themselves when done right and cost little when done wrong.
- Caulking exterior penetrations: pipes, vents, and the seam where a wall meets the roof edge. Use a roofing-grade polyurethane or silicone compatible with your material. The mistake is buying painter’s caulk and expecting it to last a Nevada summer.
- Pressing and resealing lifted flashing edges: where a metal edge has lifted a quarter inch, you can press it down and run a fresh bead along the top edge – not across the whole face, which traps water.
- Clearing debris from valleys and gutters: valley clogs are the number one cause of interior leaks after a wind event in Spring Valley. Keep them clear.
- Managing interior moisture: attic ventilation, bathroom fans, and drying a ceiling stain promptly. This is homeowner work, and it prevents the mold problem that follows a small leak.
- Sealing small nail pops from below: when you can see daylight through an old fastener, a dab of roof cement from underneath buys time until a roofer gets up there.
None of these require walking the roof. That’s the point. Ladder work at the edge, keeping three points of contact, is a different risk category from standing on a hot deck in July.
Tier 2: Repairs That Are Safe Only With a Helper and a Plan
Tier 2 is where a lot of homeowners get into trouble, because these jobs feel like extensions of Tier 1. They aren’t. Each one puts you physically on the roof surface and asks you to work a product correctly while you’re up there.
- Replacing a couple of wind-lifted ridge caps. A helper on the ground passing materials, and you on the deck with the right cap and the right fasteners.
- Replacing a cracked field shingle where you have confirmed the deck underneath is solid. You press a flat bar under the tabs, pull nails, and slide a new shingle in on a fresh course. One shingle, one slot – no more.
- Sealing a chimney edge with a helper watching the ladder and footing, never alone on a slope.
- Removing debris after a wind event when there is no visible damage and you’re checking from the ladder line.
Spring Valley’s afternoon heat pushes roof deck surface temperatures well past the air temperature, and asphalt softens. Your footing gets slippery exactly when you’re leaning to reach a shingle. Never work a Tier 2 repair alone or in the heat of the day. If the deck under that cracked shingle feels soft or springy, stop – you’ve just moved up to Tier 3, and no good comes from continuing.
Tier 3: Repairs That Require a Licensed Roofer
These repairs touch something structural, hidden, or assembly-level. If a repair fails here, it fails slowly and out of sight. That’s the definition of a job for a licensed professional, regardless of how capable you are with tools.
- Deck or sheathing replacement. Soft spots mean rot, and rot spreads under sound-looking shingles.
- Full flashing rebuilds around chimneys, skylights, and wall-to-roof intersections. Layering and counter-flashing sequence matters, and a mistake leaks behind the wall.
- Valley reconstruction where the underlayment has failed.
- Any structural repair – rafters, trusses, sagging ridge lines.
- Roof-to-wall step flashing on additions and dormers.
This is also where a professional inspection pays for itself immediately. If you have any doubt about what’s happening under your shingles, our Ridgeline Roofing Co. Spring Valley home page covers free photo-documented inspections – we take photos from your actual roof, so you see what we see.
Why Walking a Hot Spring Valley Roof Deck Is a Structural Risk
Everyone thinks about the fall. The bigger risk is what you’re standing on. A hot Nevada roof deck with compromised sheathing can flex or give way underfoot, and you won’t know until your boot goes through. In Spring Valley we see this often in homes built in the boom decades, where a small unresolved leak has been quietly eating a piece of plywood for years. The shingles above look fine because they are. The deck is the problem.
Before anyone walks a roof, we check the deck from the attic side – looking for staining, sag, and moisture – and we probe the sheathing where we can. That’s not something you can do from a ladder. If you’ve never had your attic inspected, treat any roof-walking repair as Tier 3 until someone confirms the deck is sound. A fall from a hot roof is bad. A fall through a soft roof is worse, because the roof then has a hole in it too.
Where DIY Voids Your Shingle Warranty – and How to Check
Manufacturer warranties are where confident DIY quietly costs thousands. If you install or replace shingles yourself and the job fails, the manufacturer can decline the claim for improper installation. This matters more than most homeowners realize, and it’s the single most overlooked trade-off in the DIY calculation.
Here’s how to check before you touch anything:
- Find your original shingle warranty document, or the brand on a shingle flap – Owens Corning, IKO, Atlas, and Tamko all publish their warranty terms online.
- Look for the installation and workmanship clauses. Most require installation by a qualified or licensed contractor, and some require registration of the installation.
- Check the labor or workmanship portion separately from the material portion. Many brands cover materials but not labor, and the labor is the bigger cost.
- Read the voided-coverage section for “improper installation,” “unauthorized repair,” or “modification.”
If your shingles are within their covered years, DIY shingle replacement is a gamble against the warranty. Ask yourself which is worth more: a weekend saved, or a full roof that might be covered. In Spring Valley we’ve seen homeowners lose coverage over a $60 tube of the wrong sealant. If you’d like a second opinion on an existing written estimate before you commit, we offer one free.
What “Safe to Do Yourself” Means in Nevada: Permits, HOA Rules, Insurance
“Safe” and “legal” are two different questions in Nevada, and both matter. A repair can be perfectly safe to perform and still create a permitting or insurance problem. Spring Valley sits within unincorporated Clark County, which has its own permit thresholds and inspection rules – and many neighborhoods here also have HOA architectural standards that govern roof color, material, and even visible repair work.
- Permits: structural changes, deck replacement, and full reroofs generally require a permit through Clark County. Cosmetic caulking does not. Check with the county before any structural work; we pull permits and pass inspections on every qualifying job.
- HOA rules: many Spring Valley HOA communities restrict roof material type and color, and some require approval before visible repairs. Read your CC&Rs before you buy materials.
- Insurance: if a DIY repair causes water damage down the line, your homeowner policy may exclude it as “faulty workmanship” or “improper maintenance.” A licensed contractor’s workmanship guarantee replaces that exposure. That’s exactly what our 90-Day Done Right Promise does – written, no arguing, no paperwork runaround. If it’s not right, we come back and make it right.
If you’re weighing a full replacement against piecemeal repair, our Roof Replacement & Installation in Spring Valley page covers how permits and inspection fit into a project.
How to Do the Homeowner-Appropriate Parts Correctly
The Tier 1 work is worth doing well. Done right, it extends the life of the assembly. Done wrong, it hides a problem that a roofer then has to undo. Here is how to do it correctly.
- Prep the surface first. Caulk and sealant do not bond to dust, old failing caulk, or a wet edge. Cut out the old bead with a utility knife, wire-brush the surface, and let it dry fully. In Spring Valley’s dry climate, a clean surface is achievable in an afternoon – do not skip it.
- Match the product to the surface. Use roofing-grade polyurethane sealant (not painter’s caulk) on metal, masonry, and most roof penetrations. On asphalt shingles, use asphalt-compatible roof cement for spot repairs.
- Seal the top edge of flashing, not the whole face. Water must be able to drain off the bottom of the flashing. Sealing the bottom traps water behind the metal and rusts it from the inside.
- Tool the bead so it overlaps the substrate on both sides. A thin smeared bead fails. A proper bead is thumbed or tooled to a smooth fillet that bridges the gap.
- Document it. Photograph the repair with a date. If you ever sell or file an insurance claim, that photo trail proves the repair was done and when.
For specialty assemblies like low-slope and metal sections, the flashing sequence is where most damage happens. Our Specialty Roofing in Spring Valley page covers what different assemblies require.
Common Mistakes to Avoid
- Replacing shingles over soft decking. This is the silent catastrophe. The shingles look fine, the rot spreads, and you’ve hidden the evidence from the next inspector.
- Using painter’s caulk on the roof. It fails within one Nevada summer. Use roofing-grade sealant or don’t seal at all.
- Working a hot roof in July without a spotter. Soft asphalt, slippery boots, and no one to check the ladder is how good homeowners get hurt.
- Sealing the whole face of a flashing instead of the top edge. Water gets trapped behind and rusts the metal. It’s the most common self-inflicted flashing failure we see around Spring Valley.
- Starting work without reading the HOA architectural rules. A perfect repair in the wrong shingle color becomes a second job.
- Skipping the permit on structural work. When it’s time to sell or file a claim, the missing permit shows up in the county records.
- Forgetting the warranty. One unauthorized shingle replacement can void the manufacturer coverage on the whole roof. Check first, work second.
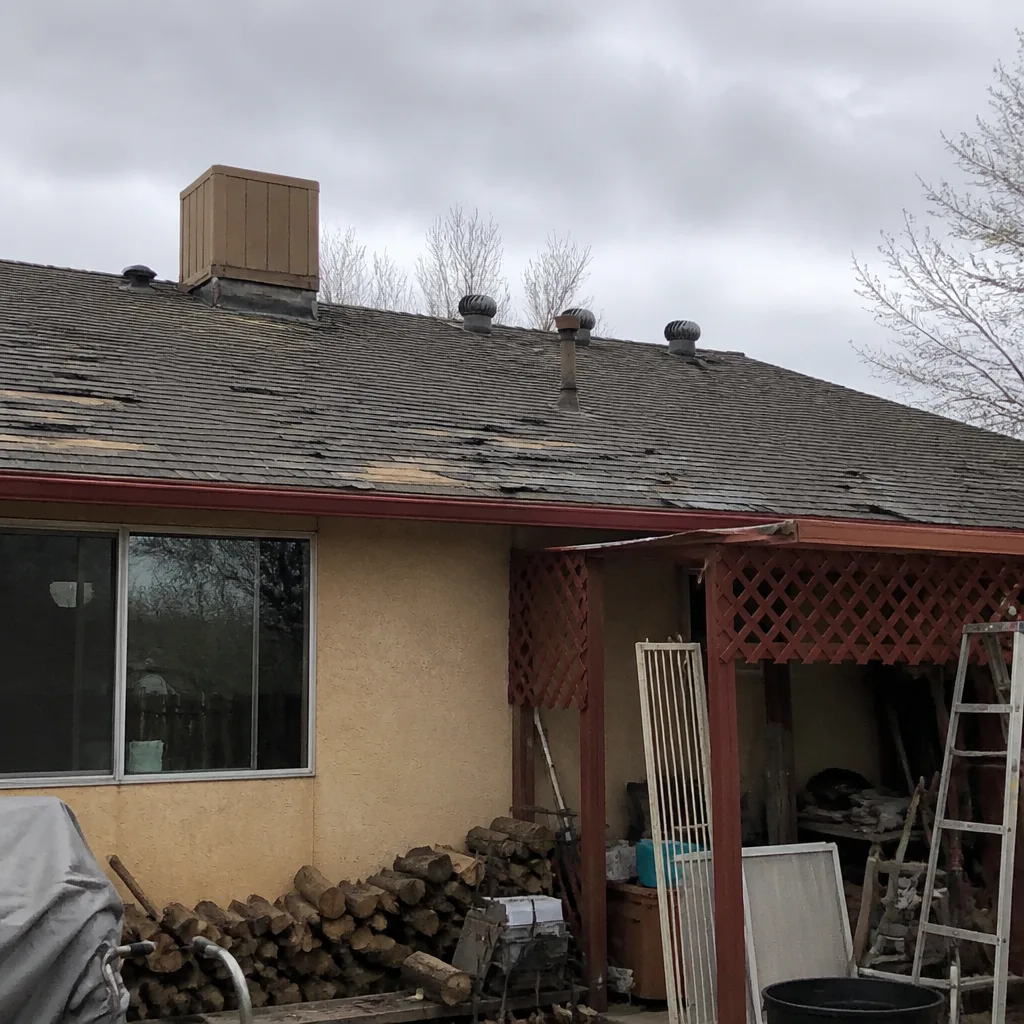
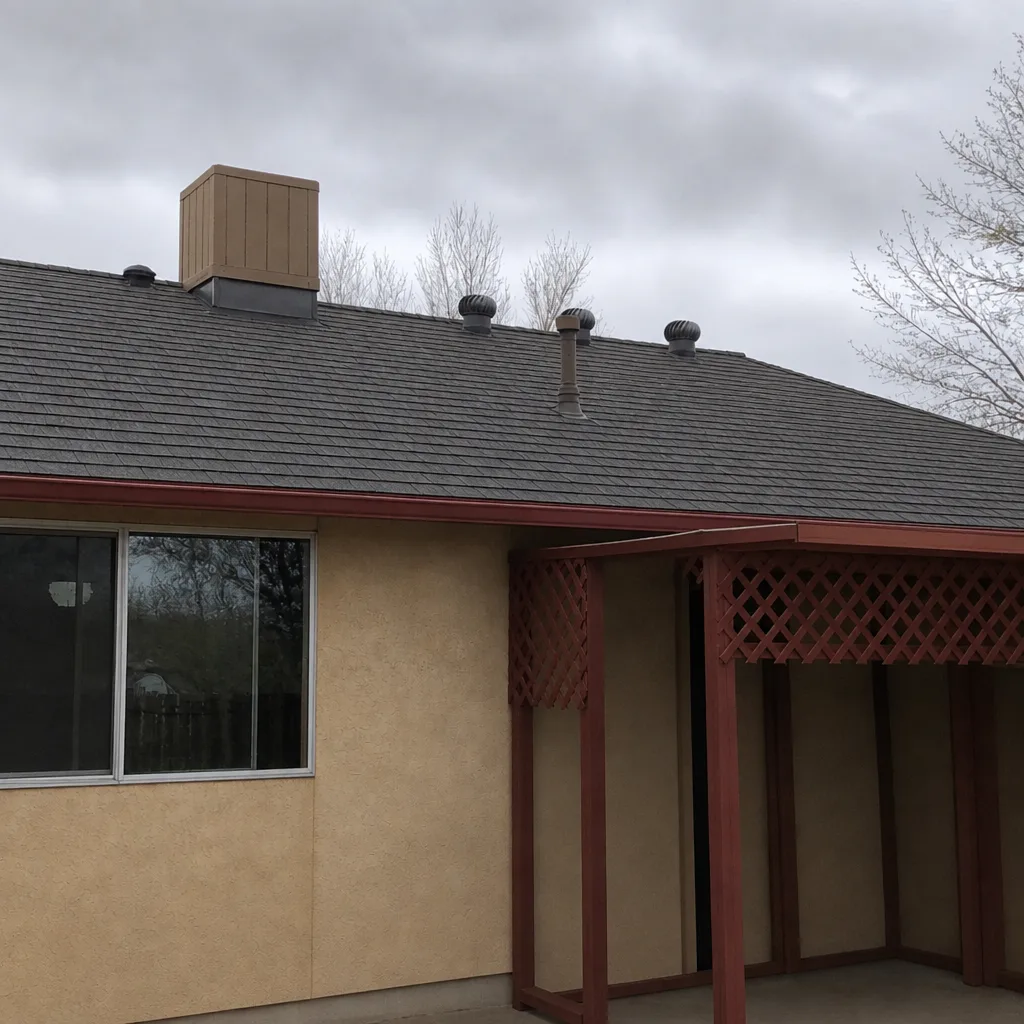
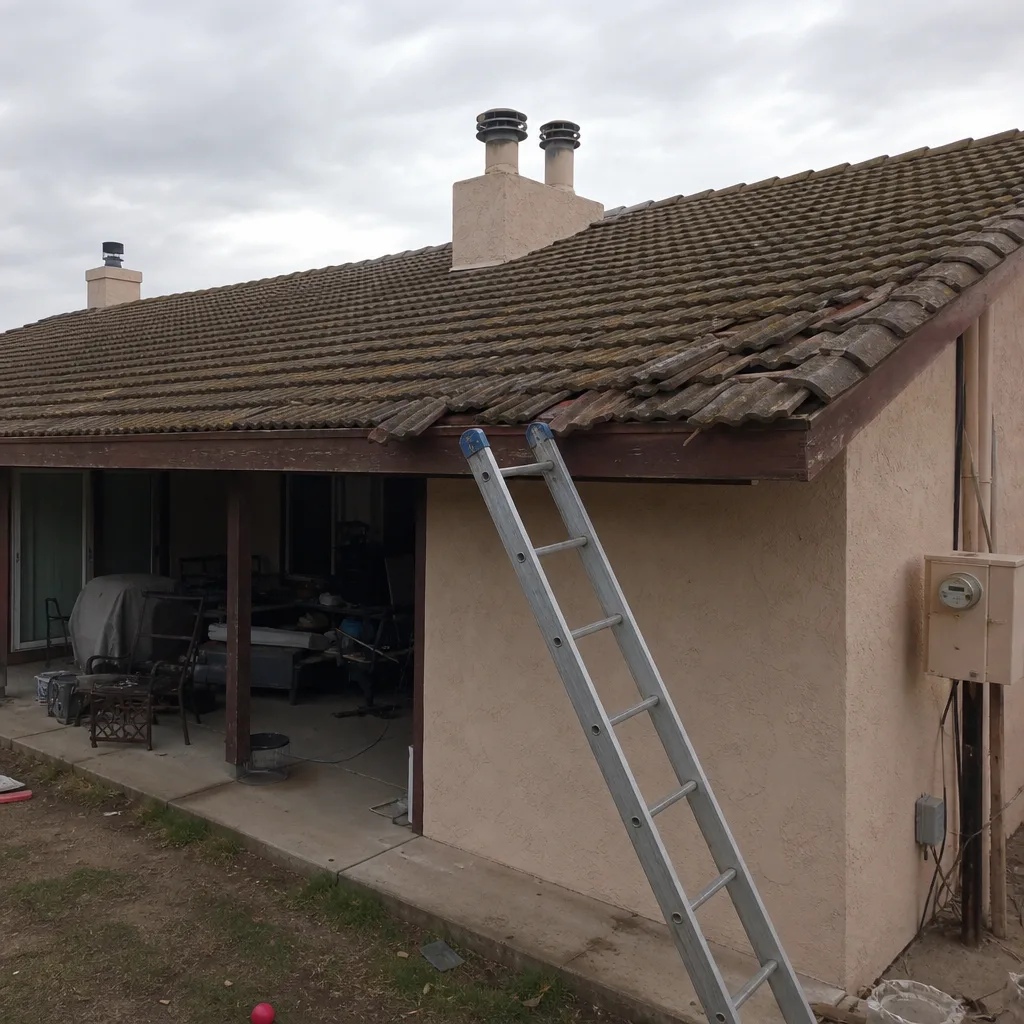
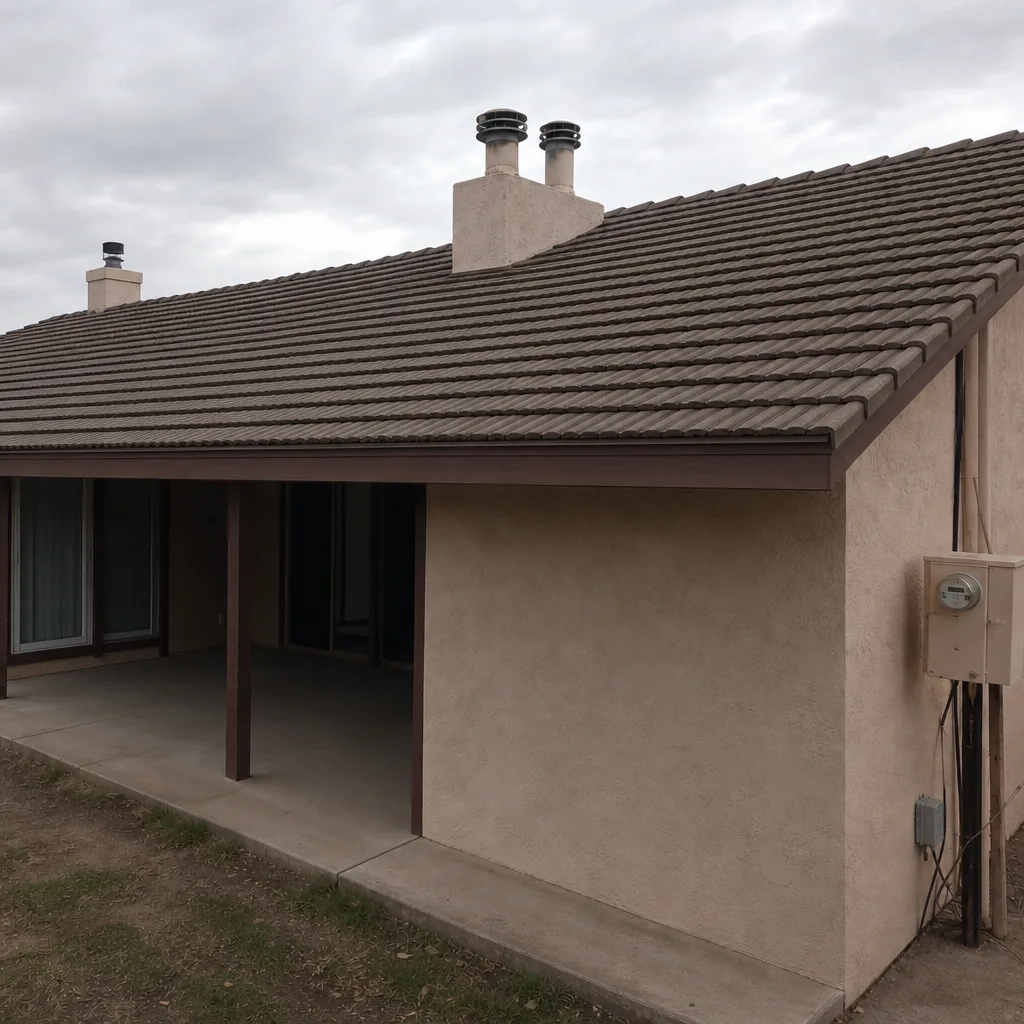
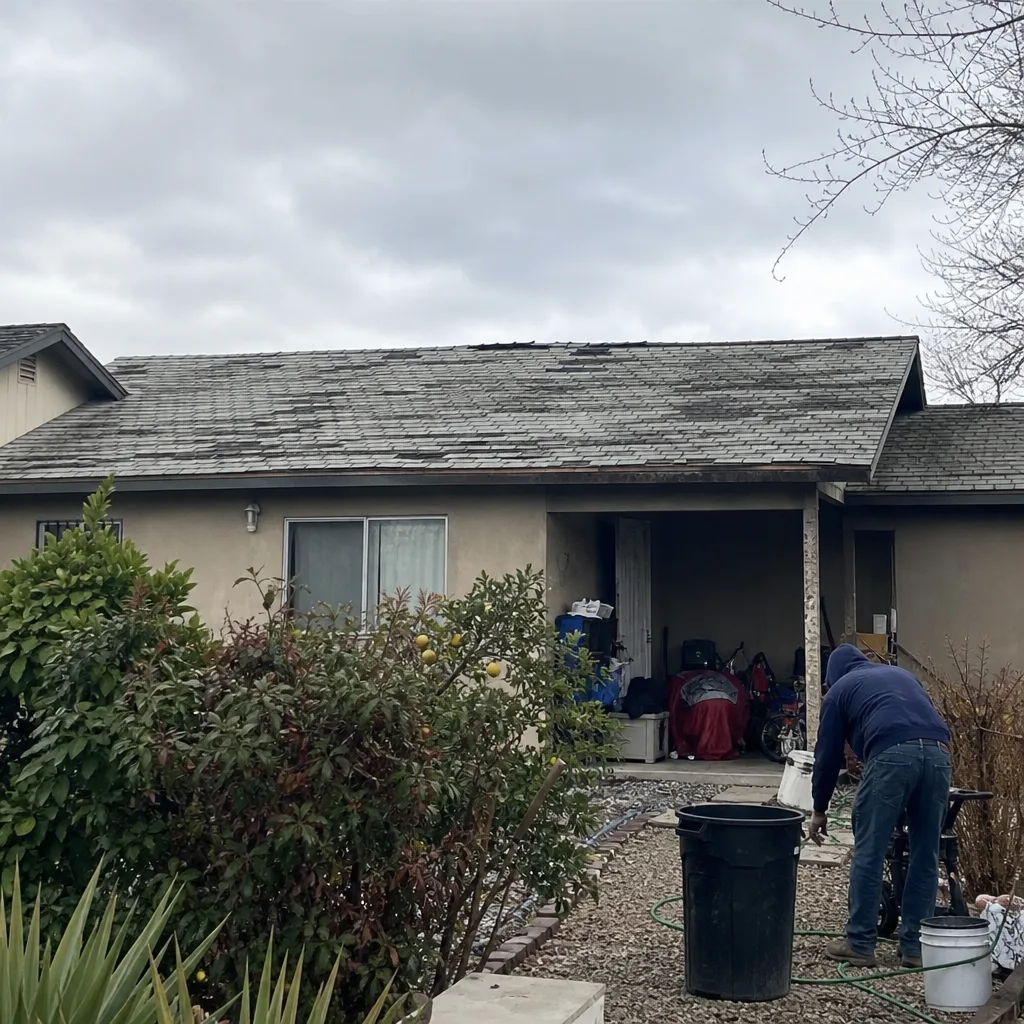
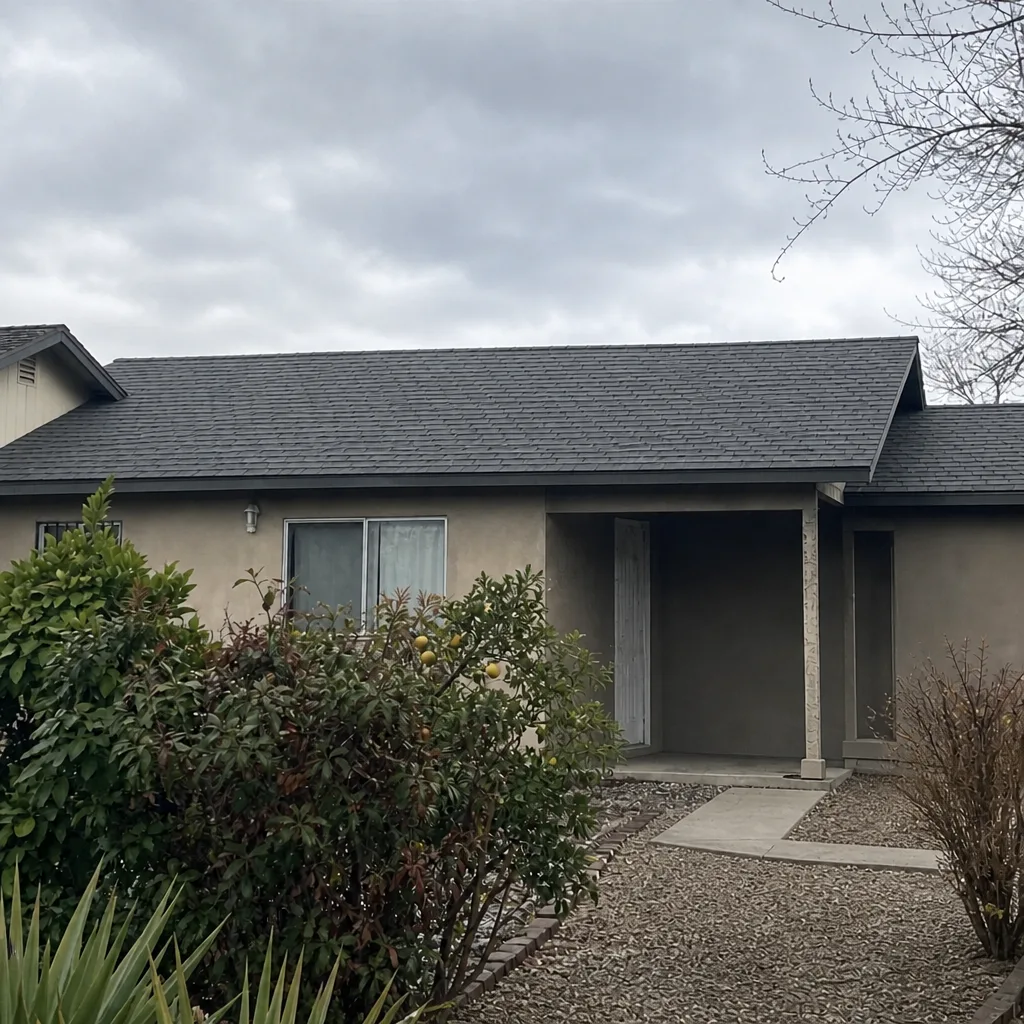
See the difference
 Before
 After
 Before
 After
 Before
 After
When to Call a Professional
Call a licensed roofer when the repair touches the deck, the structure, or a hidden assembly; when the shingles involved are still under manufacturer warranty; when the deck feels soft underfoot or you’ve never had the attic inspected; or when the repair could affect a permit or insurance claim. In Spring Valley, that covers more jobs than most homeowners expect. Ridgeline Roofing Co. Spring Valley offers free estimates in Spring Valley – call (855) 908-1590. A live person answers every call, day or night, and our technicians are background-checked and arrive in uniform. We quote upfront; the number on the estimate is the number on the invoice. Our technicians have up to 10 years of experience, and an authorized installation from GAF, Owens Corning, or Tamko is backed in writing.
Frequently Asked Questions
You can safely handle caulking exterior penetrations, pressing and resealing lifted flashing edges, clearing valley and gutter debris, managing attic moisture, and spotting small nail pops from below. Those repairs are done from a ladder or from inside the house and fail slowly and visibly. Anything on the roof deck itself – shingle replacement, deck work, flashing rebuilds – crosses into helper or professional territory.
It can. Most shingle manufacturer warranties, including Owens Corning, IKO, Atlas, and Tamko, require installation or repair by a qualified contractor and can decline claims for improper installation. Check the warranty document’s installation and voided-coverage sections before you touch a shingle. If you’re unsure, call us for a free second opinion on any written estimate.
You don’t, without checking from the attic side. Staining, sag, and moisture visible from the attic are the signs of compromised sheathing, and a roofer can probe the deck where accessible. Never walk a roof that may have a soft spot – the fall risk is compounded by what you’re standing on. Call (855) 908-1590 to arrange an inspection.
Cosmetic sealing and caulking typically don’t require a permit. Structural repairs, deck replacement, and full reroofs generally do under Clark County rules, and some Spring Valley HOA communities have additional approval requirements. When we do a qualifying job we pull the permit and pass the inspection – that’s part of the service.
Homeowner insurance often excludes damage from faulty workmanship or improper maintenance, so a DIY leak can fall outside your coverage. A licensed contractor’s written workmanship guarantee replaces that exposure. Our 90-Day Done Right Promise means if the work isn’t right, we come back and make it right – no arguing, no paperwork.
For Tier 1 work, DIY is genuinely cheaper and worth doing. For anything Tier 2 or higher, the professional cost is usually the smaller number once you count materials you’ll buy twice, warranty exposure, and the damage a silent failure causes. Estimates are free – call (855) 908-1590 for an exact quote.
The Bottom Line
The line between DIY and professional roof repair is set by failure risk, not by your confidence. Tier 1 work – caulking, small flashing pressing, debris clearing, interior moisture – is yours to do, and doing it well protects the roof assembly. Tier 2 work needs a helper and a cool, checked deck. Tier 3 work – anything on the deck, structure, or warranty – belongs to a licensed roofer. In Spring Valley, the heat, the HOA rules, and the Clark County permit thresholds all push the line toward professional work faster than many homeowners expect. Know where the line sits, and you’ll never wonder whether a repair will hold until the next storm.
If you’d like a straight answer on your roof rather than a guess, Ridgeline Roofing Co. Spring Valley is here. Call (855) 908-1590 for a free estimate – a live person answers, day or night, and we’ll get up there and show you exactly what’s going on.
Written by the team at Ridgeline Roofing Co. Spring Valley.